Orinj version 7.0.0
Markers are comments put by the user at different times in each of the four views of Orinj: the multitrack session, single wave view, MIDI roll view, or loop building view. If, for example, you want to overdub your vocals at 2 seconds after the start of the session, you can add a marker at 2 seconds with the comment "Overdub vocals".
Markers appear in the marker line at the top of Orinj.
In Orinj, markers in wave files are cues as defined in the Wave file format. Markers in MIDI files are markers as defined in the MIDI protocol and file format. Since sessions and loops are files with formats specific to Orinj, markers in sessions and loops are not a part of a similar standard. In Orinj, however, the user can work with the markers in all view in the same way.
Add a marker
To add a marker, click directly on the marker line at the place where you want to add a marker or click on Session, then Markers, and then Add in the Orinj menu. You will get the following dialog.
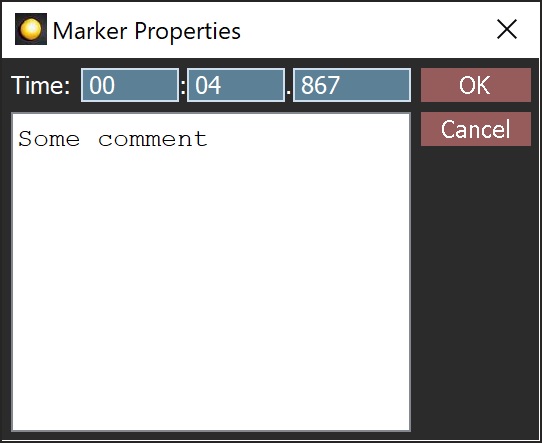
Set the time and comment of the marker and click OK when you are done.
Change a marker
To modify the time or comment of an existing marker, either double-click on that marker or select the marker and then click on Session, then Markers, and then on Properties in the Orinj menu. You will get the same dialog shown above.
Remove a marker
To remove a marker, select the marker by clicking on it and then click on Session, then Markers, and then Remove in the Orinj menu.
View all markers
To get a list of all markers, click on View and then on Markers in the Orinj menu. You will get the following dialog.
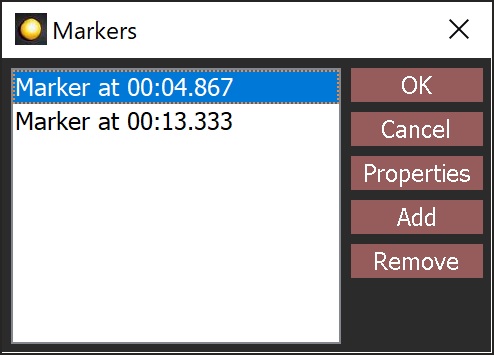
Use the dialog to modify and move your markers and to add or remove markers. Click on the Properties button to show the time and comment of a marker. Click on Add to add a new marker. Click on Remove to remove the currently selected marker. Click OK to save your changes or Cancel to ignore them.
Add new comment