Orinj version 9.0.0
These settings are accessible through the Preferences menus in all Orinj views. Choices are not specific to a session or file but will persist in this and all future sessions until you change preferences again.
Temporary folder
Orinj uses a temporary folder to store some audio and other data – newly recorded waves, new mixes, and temporary changed wave, loop, and MIDI files.
Not all temporary files are stored in this folder. Temporary copies of audio files are stored next to the original file. Temporary files that pertain to a session are stored next to that session.
You can choose any folder, and you can change your choice later.
To make sure Orinj operates smoothly, choose a folder that you do not normally use for other purposes as Orinj may store many files there, that is on a large hard drive or partition as audio data may be large, and that is on an internal hard drive (rather than, for example, a USB drive), as Orinj must access audio data quickly.
To set the temporary folder, click on Preferences and then on Temporary Folder in the Orinj menu. You will see the following dialog.
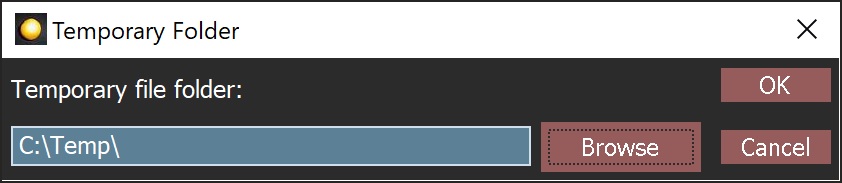
Specify the folder in the dialog either by typing it directly or by clicking on the Browse button and opening a folder. Click OK in the dialog to save your changes.
Temporary files are temporary. They will be deleted when files and sessions are closed and when Orinj exits, unless Orinj encounters errors. Temporary files have the extension "tmp" added to the original file extension (e.g., "wav.tmp" for a temporary wave file "wav"). It is safe to delete temporary files, if any remain, after Orinj exits.
Two types of temporary files are not deleted: wave files that are produced when MIDI files are inserted into a session and wave files that are the result of premixing session tracks. These temporary files are preserved to make the opening of sessions quicker. It is safe to delete them, as they will be recreated if missing.
Audio buffers
Orinj uses buffers to read audio data from your hard drive and to send these data to your audio devices. Orinj reads audio data quickly, as it read a whole part of the sampled audio data from wave files at once, instead of sample by sample.
To change your buffer sizes, click on Preferences and then on Buffers in the Orinj menu. You will then see the following dialog.
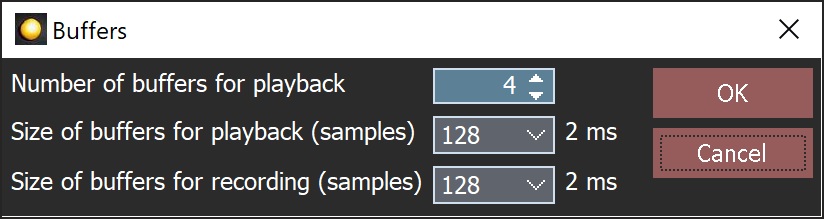
Specify the number and sizes of buffers that you want to use and click OK to save your changes.
Larger vs. smaller buffers
Larger buffers mean that Orinj will access the hard drive fewer times, reading a larger amount of data every time. This makes Orinj faster, helps in doing other things, such as computing digital signal processing effects, and helps in sending larger amounts of data fewer times to the audio devices.
Larger buffers also have disadvantages. For example, once audio data is sent to the audio devices for playing, it will be played until exhausted and Orinj will be slower to respond when you stop playback.
Direct monitoring
Direct monitoring in this context refers to playing the recorded signal back while recording. Direct monitoring requires small buffers so that there is no delay between the recording of the signal and the playback of the same signal (the delay is small enough to not be noticeable).
Orinj does not provide for direct monitoring, and you do not need smaller buffers for direct monitoring. Playback when recording does not include the recorded signal.
ASIO
ASIO devices specify minimum, maximum, and preferred buffer sizes. Orinj double-buffers ASIO output and input and communicates with the ASIO device with the buffer sizes preferred by the ASIO device. You can choose buffers that are larger than those used by the ASIO device. If you do so, however, you may notice a pause at the beginning of recording and a delay in the recorded signal.
Device properties
Audio devices support some audio formats and not others. To see which audio formats are supported by your devices, click on Preferences and then on Device Properties in the Orinj menu. You will then see the following dialog.

(One known issue on Windows is that Orinj does not recognize all sampling rates and sampling resolutions. Although your audio devices may support high sampling rates and sampling resolutions, such as 24-bit 96KHz audio, this dialog may show that these are not supported.)
Snap options
Snap options are used when moving waves and when selecting audio data. Suppose that you create a drum loop that extends for one measure of your song. You may want to select this drum loop and play it in a loop over and over while practicing playing your song with it. You would want to select the loop starting exactly at the beginning and ending exactly at the end of the wave block. If your selection does not match the sample beginning and end exactly, your loop will not play exactly "on beat". Making sure that your mouse selection snaps with the beginning and the end of the wave block will ensure that your selection end points match the loop end points.
"Snapping" means that rather than clicking exactly at, say, the beginning of a wave, you only need to click somewhat close to the beginning. Orinj will then assume that you wanted to click exactly at the beginning and will adjust your selection accordingly.
Snapping, if set in preferences, can also apply to the moving of wave blocks. You can move a wave close to a certain position (another wave, the cursor, the time signature line) and Orinj will ensure that the wave starts or ends exactly at that position.
To change your snap options, click on Preferences and then on Snap Options in the Orinj menu. You will see the following dialog.
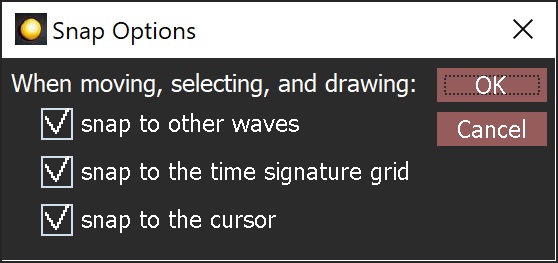
Make your changes and click OK to save them.
Recording delay
You may want to have some time between clicking a button to start recording and the actual recording, so that that you can move away from the computer and towards the microphone or instrument and prepare to sing or play.
To allow a delay before the actual recording starts, click on Preferences and then on Recording Delay in the Orinj menu. You will see the following dialog.
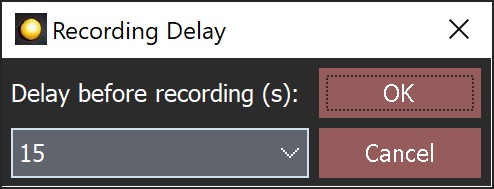
Chose the amount of delay (in seconds) and click OK.
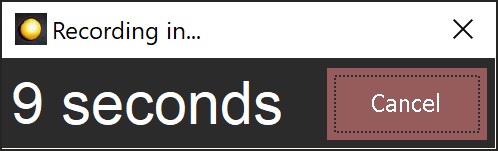
When clicking to start recording, before recording starts and if the recording delay is larger than zero, you will see a timer counting down the seconds until the start of actual recording. An example is shown below. If you click Cancel in this time, recording will not start. If you wait for the timer to count down to zero, recording will begin.
Skins
Orinj comes with a set of different skins – look and feel options (colors, fonts, etc.). To choose one, click on Preferences and then on Skins in the Orinj menu. You will see a dialog that shows all available skins. Choose a skin and then click on OK in the dialog.
Languages
To change the Orinj language, click on Preferences and then on Languages in the Orinj menu. You will see a list of available languages. Click on the one you want and click on OK. Changes will not take effect until you restart Orinj. Language packs can be installed separately from Orinj and what languages are available depends on the language packs that are installed.
About
Clicking on Preferences and then on About in the menu will display version and licensing information for Orinj.
Add new comment