Orinj version 9.0.0
Insert a loop file in your session
- Switch to the Orinj session by clicking on the session view button (
 ) in the view toolbar at the bottom of Orinj.
 - Decide which track you want to use (say, the first track).
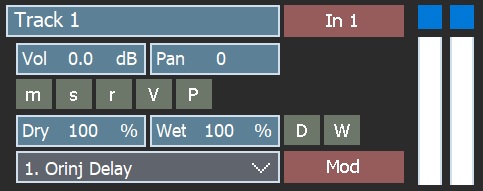
- In the track control panel to the left of the track, type a name for your track (for example, "Drums"). (In the picture of the panel below, type "Drums" in the place of "Track 1".)
- The track, which you named "Drums", should now be selected. It will be lighter in color than the rest of the tracks. When inserting files, Orinj will insert them in the track that is selected.
- Click on the rewind to start button (
 ) in the player toolbar at the bottom of Orinj. This will move the play cursor (the vertical yellow line) to the beginning of the tracks if it is not already there. When you insert a file in the track with the steps below, this file will be inserted next to the play cursor.
 - Click on Track and then on Insert From File in the Orinj menu.
- In the Оpen dialog, switch from "Sound files (.wav, .au, .aif)" to "Loop files (.klp)", since you want to insert a loop file.
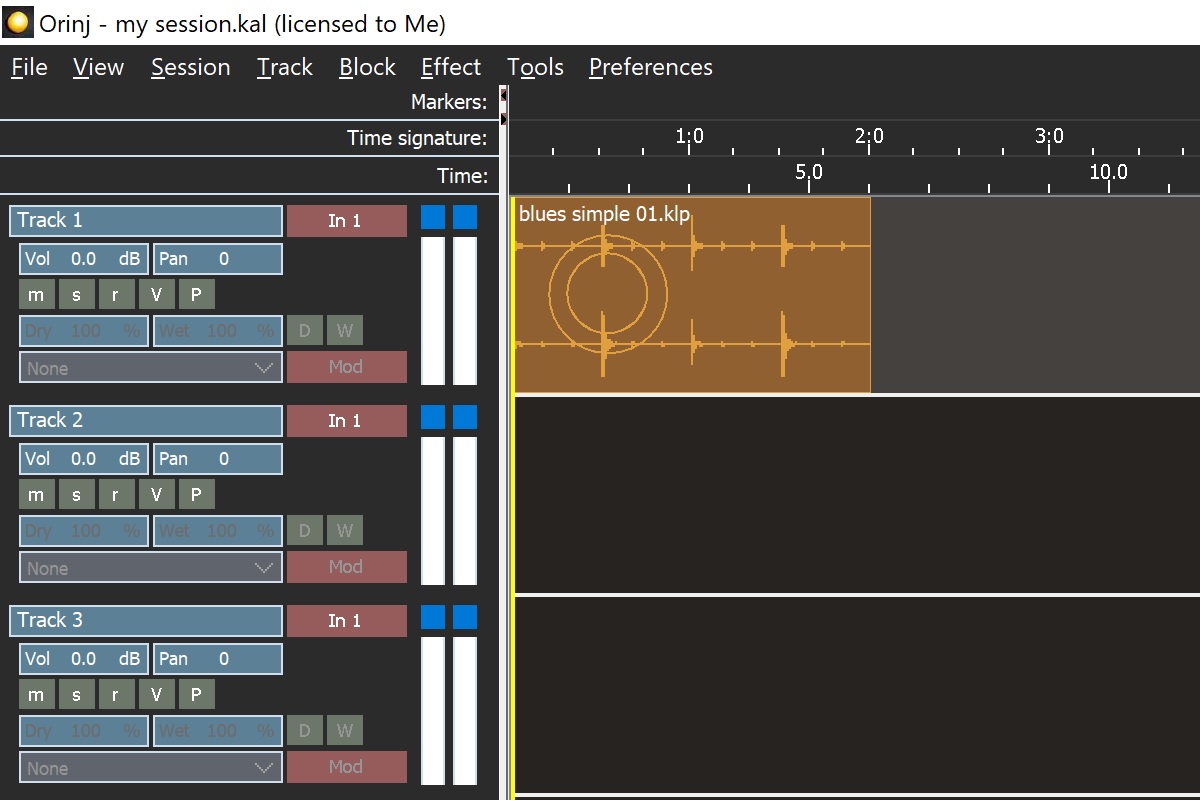
- Browse to where you saved your drum wave file from part 2 of this tutorial and double-click on that file. The wave will be inserted in your session. The file will appear at the very beginning of the track labeled "Drums".
- Click on File and then on Save to save the session.
Explanation: Naming tracks is not necessary, but it is a good idea. Large sessions could have many tracks, and it is easier to work with sessions when tracks are named.
Selecting the track is necessary. The selected track (the one lighter in color) will be the one in which files are inserted. You can simply click on a track to select it. Most actions with a track will select that track (e.g., muting, soloing, changing pan or volume).
When you inserted the drum loop, Orinj converted this loop to a wave file. The drum loop is a collection of wave samples. Orinj mixed them into a single wave. This wave file is temporary. It will be deleted when Orinj exits. It will be recreated when you re-open the session. It will also be recreated if you change the drum loop (e.g., if you add, remove, or move samples or change volume and pan).
Build a drum track
- Click on the drum loop wave to select it (click on the orange wave block in the session). If the block is not already selected, it will become lighter in color.
- Click on Block and then on Loop in the Orinj menu.
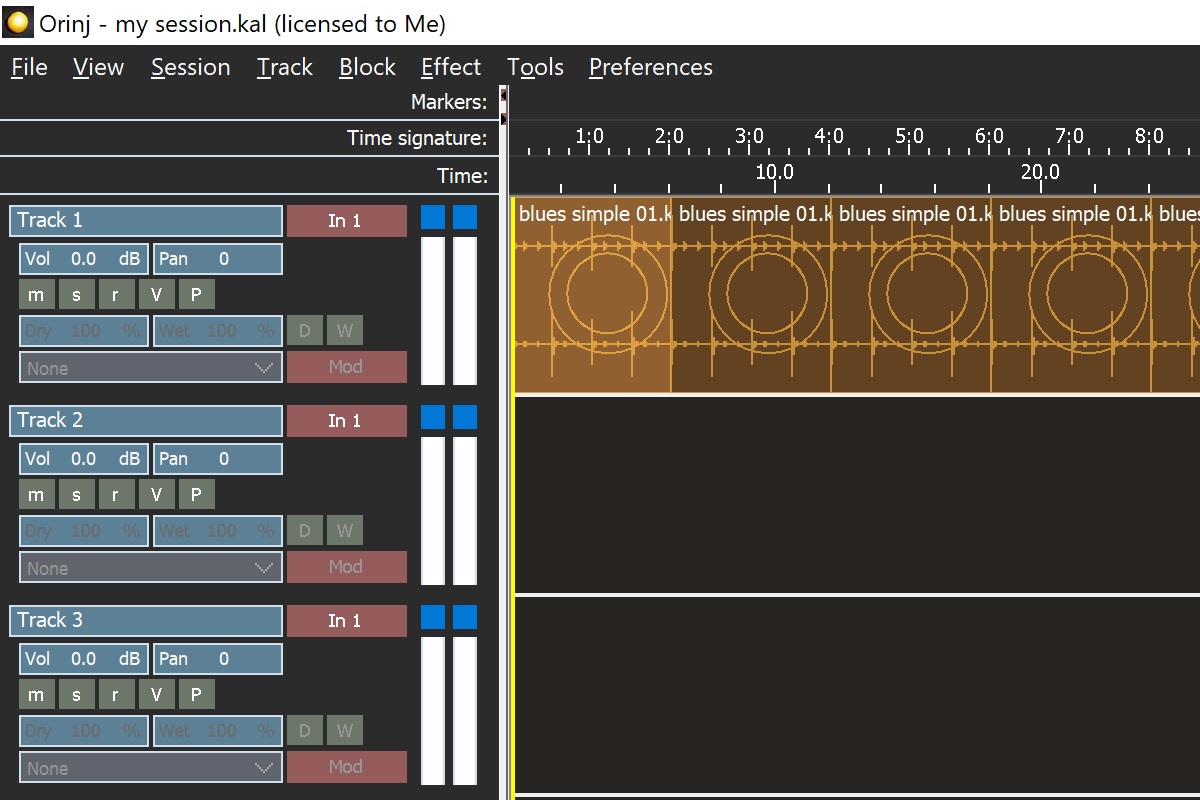
- In the Loop dialog, select how many times the wave should be looped (say, 15).
- Click OK. The drum loop will be repeated to create a longer drum track.
- If you want to zoom out a bit, click on the zoom out horizontally button (
 ) in the zoom toolbar at the bottom.
- Save your session. Click on File and then on Save in the Orinj menu.
Explanation: A single loop is not enough for a drum track and must be repeated.
Having the same drum loop over the whole song may be too repetitive. In your songs, you can use different drum loops, ordering them in different ways. You can also record a drummer.
You created only 16 (15 plus the original) drum loops. This covers only one measure of, for example, a 12-bar blues song, leaving a couple of drum loops at the beginning to get musicians ready when recording. If you need more, you can loop the last block in the track and make the track longer.
Double-clicking on any of these blocks will open the block in the loop view. Since all blocks use the same loop, if you change one of them and then switch back to the session, all blocks will change. To return to the session from the loop view, click on the session view button () at the bottom of Orinj.
Add a bass line
Using MIDI files in Orinj requires a SoundFont (see the explanation at the end of this section). If you do not have a SoundFont file, you can skip this section.
- Download the following file. Place it next to the session you saved in the first part of this tutorial, in the same folder.
| blues Am var 1 bass.mid | July 17, 2025 | A simple MIDI bass line for a blues song (1 KB). |
- In Orinj, name the second track in the session (for example, "Bass").
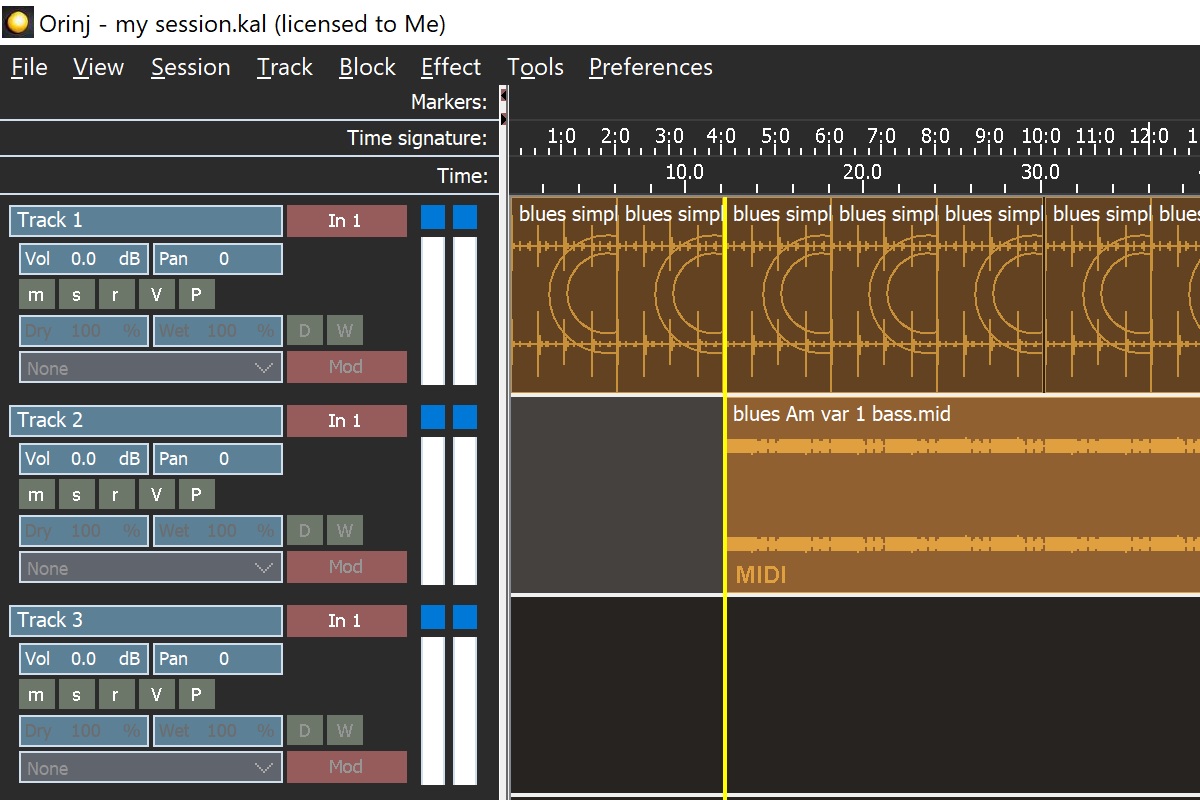
- Click on the same second track where the second and third loop meet. This will make sure the second track is selected and place the play cursor (the vertical yellow line) between the second and third drum loop. With the steps that follow, you will insert a bass line starting there.
- Click on Track and then on Insert From File in the menu. In the Open File window, switch to "MIDI files (.mid)".
- Find the file "blues Am var 1 bass.mid" and double click on it to open it.
- Orinj will ask for a SoundFont. See below why a SoundFont is necessary. Browse to a SoundFont on your computer and select it.
- You will now have a bass line.
- Click on File and then on Save in the menu to save your session.
Explanation: You inserted a ready bass track. You did not record the bass track (recording is explained in Part 4 of this tutorial).
The bass track that you inserted is a MIDI file. A MIDI file contains messages to MIDI devices that specify that certain notes must be played at certain time. A MIDI file does not contain sampled sound data. When devices play MIDI files, they use sound data from elsewhere to convert the MIDI messages to sound.
A SoundFont (SF2) file contains sampled sound data. It contains wave samples and information about what those wave samples represent and how they should be played. A SoundFont, for example, can contain several bass samples. When a MIDI device must play a bass note, it can use the SoundFont samples to do so.
SoundFonts can contain many wave samples for many instruments. For this tutorial, use a SoundFont that is General MIDI compliant. Such a SoundFont will contain samples for the standard 128 MIDI instruments. The bass line used in this tutorial uses one of these instruments. With the right SoundFont, Orinj will be able to play it. General MIDI compliant SoundFonts are available online free.
Orinj converted this MIDI file to a wave file with the help of the SoundFont that you chose. This wave file is temporary and will be removed when you exit Orinj.
This bass track and the drum loop were designed to have the same tempo.
The volume of the bass track may be low because the MIDI files in the Orinj installation were created with MIDI velocity of 60 (see MIDI Note On message). When you create MIDI files, you can use something different for each note. You can also change the volume of the whole tack during mixing (volume, pan, and effects), which is described in the last part of this tutorial.
Since this is a MIDI file, if you double-click on the block in the session, you will be taken to the MIDI view where you can edit the file, before returning to the session.
See also
This completes the third part of the Orinj tutorial – creating drum and bass tracks. The remaining parts of this tutorial are as follows.
Orinj Getting started - Part 1 - Set basic Orinj preferences and prepare your session
Orinj Getting started - Part 2 - Build a drum loop
Orinj Getting started - Part 4 - Record guitar and vocals
Orinj Getting started - Part 5 - Mix your song
Add new comment